Your Ultimate Guide to Trézor.io/start: Begin Your Crypto Journey Securely
Start Safely with Trézor.io/start
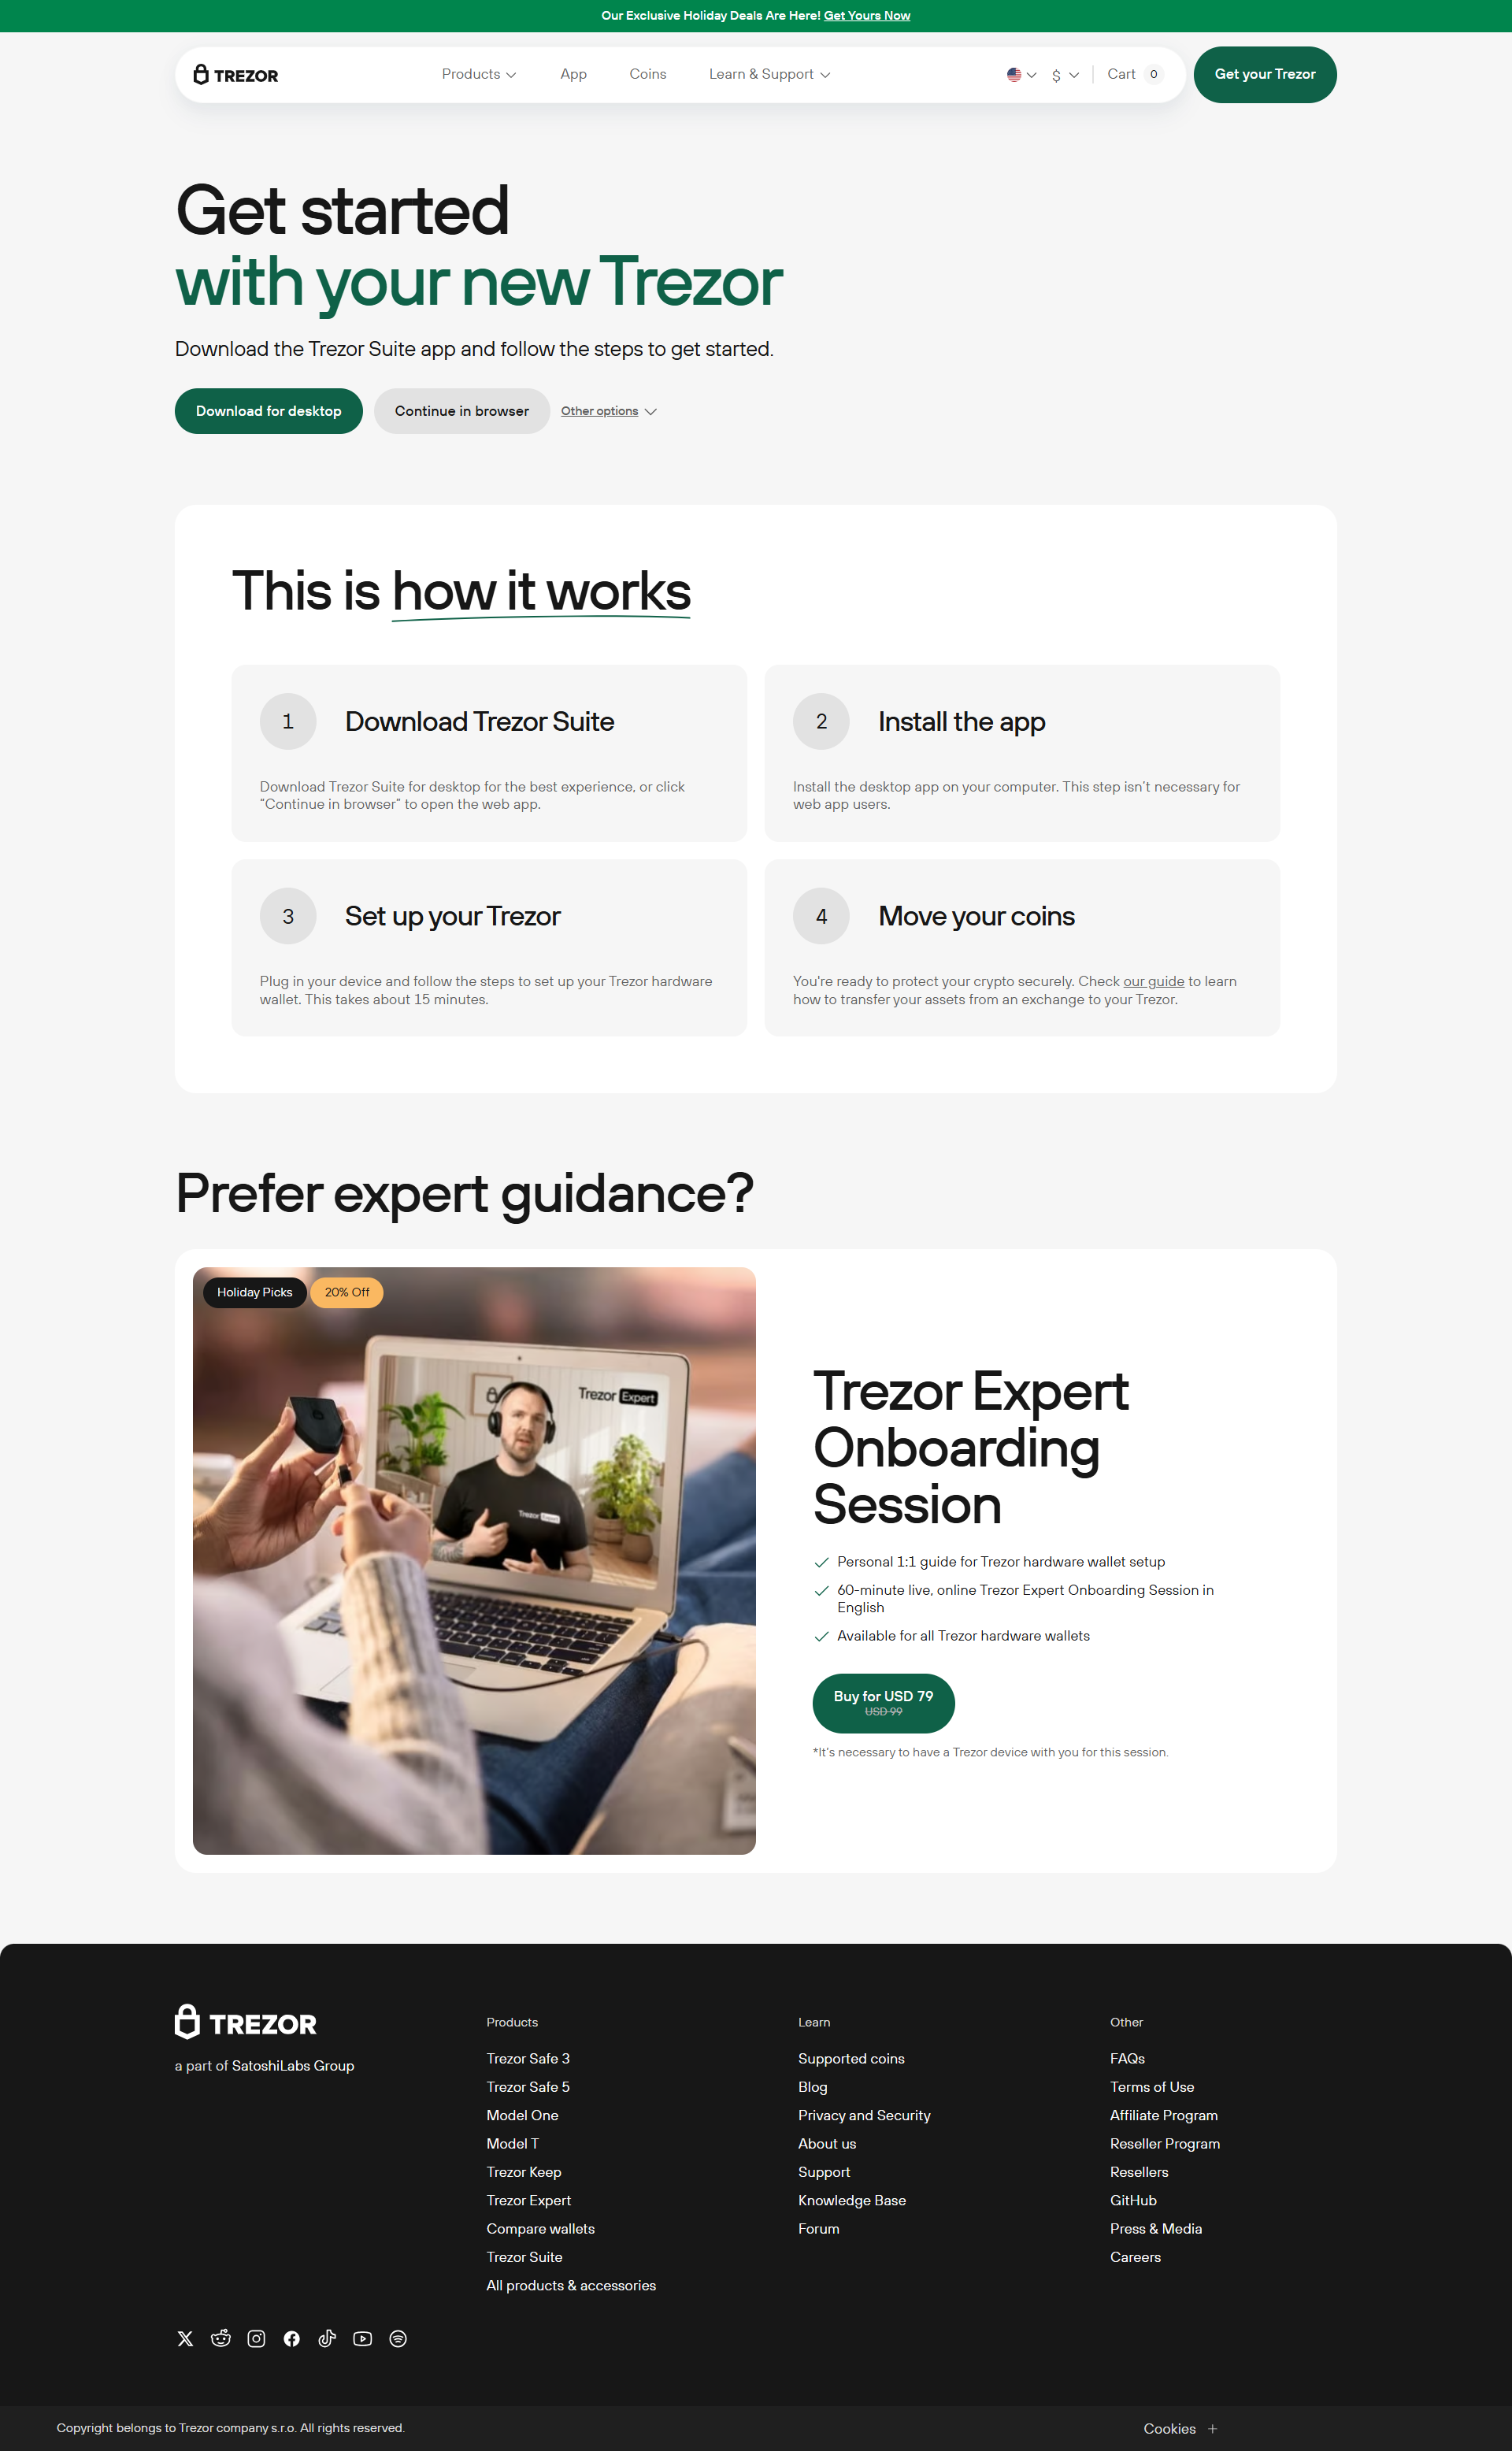
When it comes to managing cryptocurrencies securely, the first step is critical. Trézor.io/start is the official portal where users initialize their Trézor Hardware Wallet, ensuring a secure and verified setup from the beginning.
This trusted site connects you directly to Trézor’s official tools, allowing you to download the necessary software, verify your device, and begin protecting your digital assets immediately.
Supported Devices on Trézor.io/start
The platform supports both Trézor Model One and Trézor Model T. Once connected, you’ll receive model-specific guidance to complete the setup process and begin using your wallet safely.
Step 1: Download and Install Trézor Suite
Trézor Suite: Your Control Center
Once you access Trézor.io/start, you’ll be directed to install Trézor Suite, the official desktop application for managing your crypto wallet. It’s compatible with Windows, Mac, and Linux systems.
Key Features of Trézor Suite
- Secure interface for managing multiple accounts
- Built-in crypto exchange functionality
- Privacy tools like Tor integration
- Full transaction history and analytics
Using Trézor Suite ensures you’re in complete control of your assets, all while staying offline with your private keys securely stored on your Trézor Hardware Wallet.
Step 2: Connect Your Trézor Hardware Wallet
Secure PIN Setup
Once you open Trézor Suite, you’ll be prompted to connect your Trézor Hardware Wallet via USB. The device will ask you to create a PIN, which will be required each time you connect it to your computer.
This step is essential for physical device security and protection from unauthorized access.
Install or Update Firmware
If your device is brand new or hasn’t been updated recently, Trézor Suite will ask you to install the latest firmware. Always install firmware updates through Trézor.io/start to avoid malicious software or tampering.
Step 3: Write Down Your Recovery Seed
Your Backup for the Unexpected
After initializing the wallet, your Trézor will generate a 12- or 24-word recovery seed. This is your only backup if your device is ever lost or damaged.
Best Practices for Recovery Seed Storage
- Write it down on paper (never store digitally)
- Do not take a photo
- Store it in a secure, private location
- Consider a fireproof or waterproof safe
Step 4: Install Trézor Bridge (If Needed)
What is Trézor Bridge?
Trézor Bridge is a communication tool that allows your computer to interact with the hardware wallet via web browsers like Chrome or Firefox. If you plan to use Trézor Suite Web, you must install Trézor Bridge.
Installation Instructions
- Go to Trézor.io/start
- Choose the Bridge software for your OS
- Download and install
- Restart your browser
This bridge runs in the background, ensuring smooth communication between your browser and your wallet.
Explore Trézor Suite Features Post-Setup
Manage Coins Securely
After completing setup, Trézor Suite gives you access to a wide range of features to manage your cryptocurrencies securely:
- Send and receive coins like Bitcoin, Ethereum, and others
- Add custom tokens and multiple accounts
- Monitor market data and historical balances
Use Hidden Wallets and Passphrases
For advanced security, Trézor allows you to create hidden wallets using custom passphrases. This offers an extra layer of protection for high-value accounts or long-term storage.
Built-In Privacy Tools
Enhanced Security Options
Trézor Suite includes built-in privacy options to help maintain anonymity and control:
- Enable Tor network directly from the app
- View transactions offline
- Set up watch-only wallets
These tools are especially useful for users who prioritize data privacy and on-chain discretion.
Why Choose a Trézor Hardware Wallet?
Cold Storage You Can Trust
Unlike software wallets or online exchanges, Trézor Hardware Wallets store your private keys offline. This eliminates exposure to online threats, phishing attacks, and exchange hacks.
Confirm Transactions Physically
Every transaction must be approved on your Trézor device’s physical screen, ensuring no action is taken without your knowledge and consent.
Open-Source and Community Audited
Trézor’s firmware and software are open-source. This level of transparency builds trust and enables the community to verify and improve the security infrastructure constantly.
Avoid Common Mistakes During Setup
Never Use Third-Party Sites
Only set up your wallet using Trézor.io/start. Avoid downloading apps or firmware from unofficial websites, as they may contain malware or phishing code.
Don’t Share Your Seed Phrase
Your recovery seed is personal and private. Trézor will never ask you for it — not through email, customer service, or the application.
Always Check Device Authenticity
Before connecting, check that the device is in its original packaging with tamper-proof seals intact. If anything looks suspicious, contact Trézor support immediately.
Final Thoughts: Begin Securely at Trézor.io/start
Setting up your wallet through Trézor.io/start is the most secure way to begin your crypto journey. From installing Trézor Suite to setting up your Trézor Bridge and protecting your recovery seed, each step is designed to help you manage your digital assets with complete peace of mind.
Whether you’re holding Bitcoin, Ethereum, or a portfolio of altcoins, Trézor provides the tools and protection you need to take full control of your crypto life — starting at Trézor.io/start.